Bird Seed Ornaments
This recipe will fill about 3 average size cookie cutter shapes. You can double the recipe to make more, but the mixture dries, gets stickier, and becomes harder to work with the longer it sits. I found it was easier to just make multiple smaller batches vs. trying to rush and fill all the cookie cutters before the mixture got too dry. But if you’re speedy, go for it! Also, keep in mind if you’re doing this with kids, simple cookie cutter shapes will be easier to fill for them than some of the more complicated snowflake or star shapes.
Materials
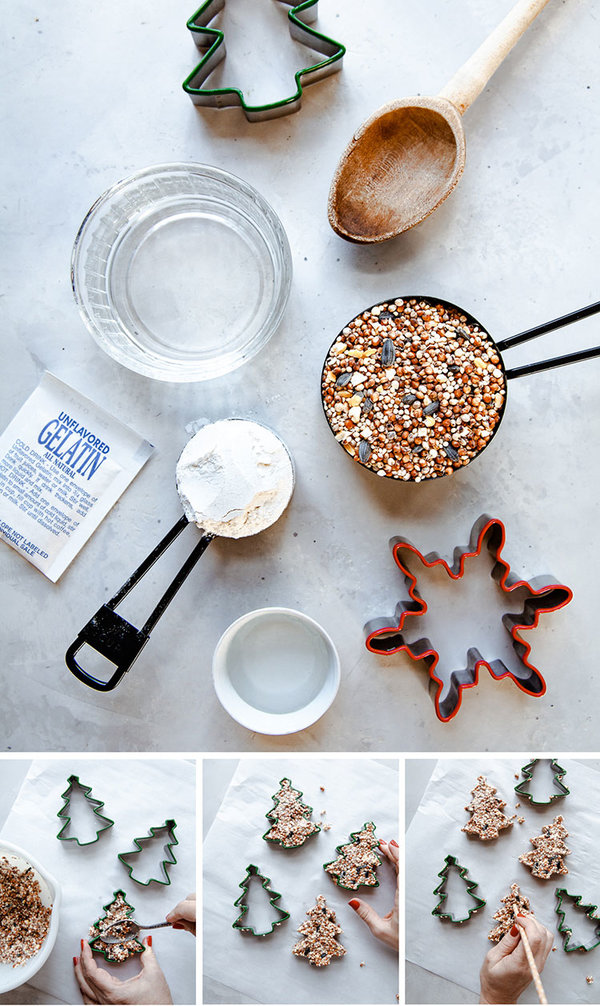
· ¼ cup water
· Heaping ¼ cup flour
· 2 tablespoons corn syrup
· 1 package unflavored gelatin
· 1 cup birdseed
· Non-stick spray
· Cookie Cutters
Instructions
Coat inside of cookie cutters with non-stick spray. Combine flour and birdseed in a medium-sized bowl. Warm the water and corn syrup in a small pot on the stove (it does not need to come to a boil). Once the mixture is warm, sprinkle gelatin over top. Mix until gelatin is completely dissolved. I heated and stirred mine until I saw bubbles just beginning to dance on the bottom of the pan, but didn’t bring the mixture to a full boil or simmer.
Next, add liquid mixture to the birdseed and flour and mix until completely combined. It will be pretty sticky and should not be runny. Using a spoon or small spatula, fill the cookie cutters with the birdseed mixture. Make sure to get enough of the mixture into all of the crevices. I used the back of the spoon to smooth everything out. If you want to use your hands, coat your fingers with the non-stick spray, otherwise, the mixture will stick to your hands.
This next step is where I differ from most of the other tutorials I found and it is CRITICAL:
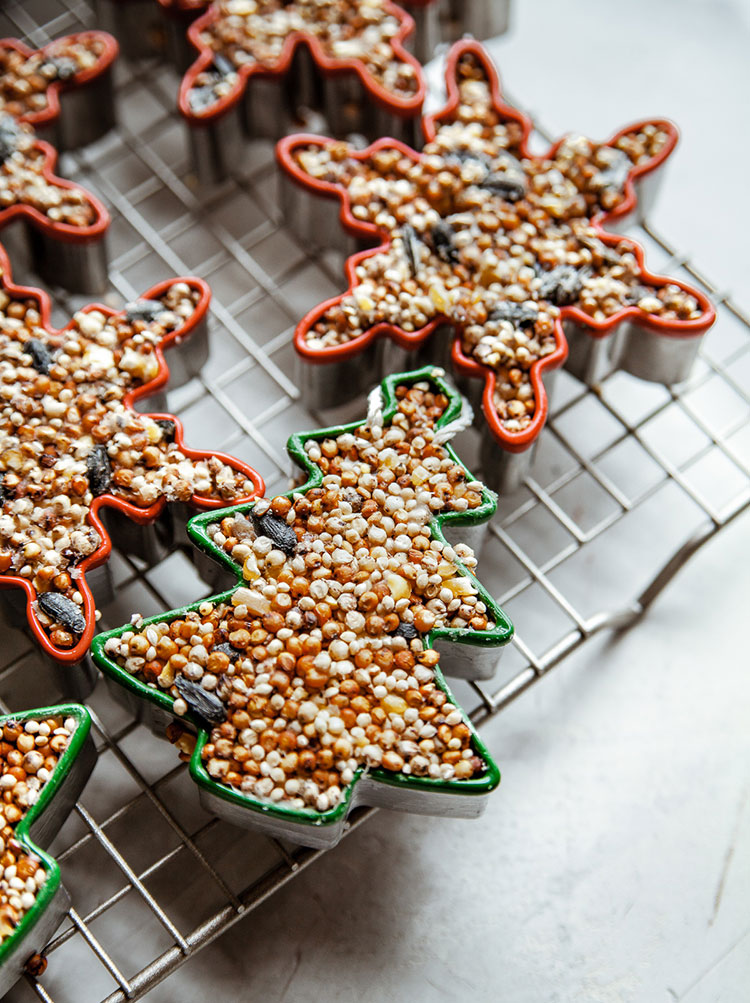
While the mixture is still wet (I let mine set for less than 10 minutes, but you’d probably have up to 30 minutes) remove it from the cookie-cutter. Yes, it will still be wet and squishy, so be very careful and just work slowly. For simple shapes, the non-stick spray should allow you to pull the mold right off. For more complicated shapes (like the snowflake) use a straw, chopstick, pencil or similar tool to help press the mixture out of the mold.
After removing seed mixture from the cookie-cutter use a straw or skewer to create a hole at the top of your shape. You can leave the shapes to dry on your counter, a baking sheet or piece of parchment, but I preferred transferring them to a baking rack so they could dry from all sides. Let them dry for 6-8 hours, or even better, overnight before moving onto the next step.
The beauty of this method is that if anything breaks while removing, you just form it back together while it’s still wet. When I left the mixture in the cookie cutter to dry and then tried to remove, about 90% of my shapes broke or had pieces that didn’t form/stick together properly. The shapes I made from this method looked better and were way sturdier. Plus, none of them broke or fell apart after drying!
Pro Tip: if you want to make more than a couple of these shapes, you don’t have to buy 10 cookie cutters all in the same shape (yep, I made that mistake too)! You can do a couple at a time, remove the mold, and refill.
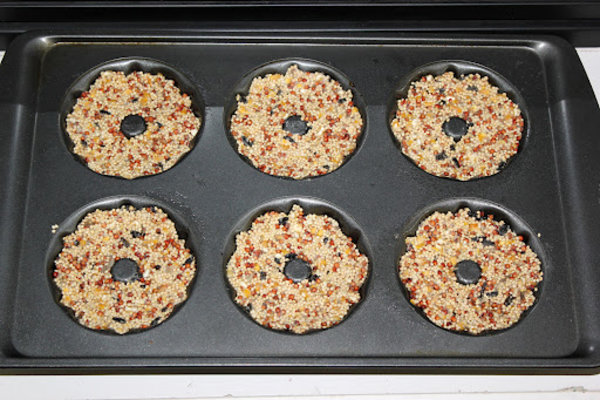
Another fun idea is creating Bird Seed Donuts!
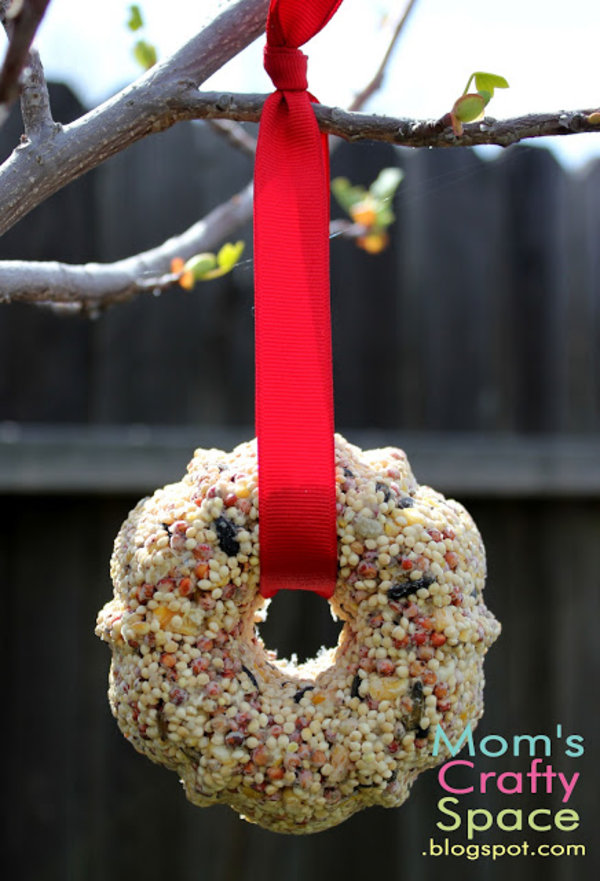
Let dry for a few hours in the bundt pan, and then pop ’em out of the mold so they can dry out completely for the next 24 hours. Add a length of ribbon for hanging, and go outside to deliver your birdie treats!